
Over 35 million American adults report issues with ear wax buildup each year. If you have ever searched for a safe way to care for your ears at home, you are not alone. Understanding the right supplies, using proven techniques, and knowing which methods to avoid can help protect your hearing and comfort. This guide walks you through science-backed, practical steps for American families who want reliable ear care without risk.
Table of Contents
- Step 1: Gather Necessary Supplies for Safe Ear Care
- Step 2: Soften Ear Wax with Natural Solutions
- Step 3: Flush Ear Gently Using Safe Techniques
- Step 4: Evaluate Ear Health After Removal
- Step 5: Understand Risks of Ear Wax Candles with Scientific Citations
Quick Summary
| Main Insight | Detailed Explanation |
|---|---|
| 1. Gather Proper Supplies | Collect clean tools like a dropper and syringe to ensure safe ear wax removal. |
| 2. Soften Wax Before Cleaning | Use safe solutions like mineral oil to gently soften hard wax before removal. |
| 3. Flush Ears Gently | Irrigate ears with warm water using a syringe to safely remove softened wax. |
| 4. Monitor Ear Health Post-Procedure | Observe for any unusual symptoms or changes in hearing after ear wax removal. |
| 5. Avoid Ear Candles | Scientific evidence shows ear candling is ineffective and can cause serious injuries. |
Step 1: Gather Necessary Supplies for Safe Ear Care
Before beginning any home ear wax removal process, collecting the right supplies ensures a safe and effective experience. Your goal is to prepare a clean, organized workspace with tools that minimize potential risks to your ear health.
Key supplies for safe ear care include a clean dropper, hydrogen peroxide or mineral oil, a soft washcloth, a rubber bulb syringe, and lukewarm water. Ear cleaning experts recommend specific tools for gentle and hygienic wax removal. Select a clean dropper to apply softening solutions like mineral oil or hydrogen peroxide. A rubber bulb syringe helps gently flush the ear canal after the wax has softened.
When assembling your supplies, prioritize cleanliness and gentleness. Avoid using cotton swabs or sharp objects that could damage your ear canal. Instead, focus on soft materials and liquid solutions designed to safely dissolve and remove excess ear wax.
Pro Tip: Always test the temperature of any liquid solution before introducing it to your ear canal to prevent discomfort or potential injury.
Step 2: Soften Ear Wax with Natural Solutions
Softening ear wax is a critical step in safely removing buildup without causing damage to your ear canal. In this phase, you will learn how to gently prepare your ear for wax removal using safe and natural solutions.
Natural solutions like mineral oil can effectively break down and loosen hardened ear wax. Start by selecting an appropriate solution such as mineral oil, hydrogen peroxide, or over-the-counter ear drops specifically designed for wax removal. Warm the solution to body temperature by holding the dropper between your hands or placing it in a warm room for a few minutes.
Carefully tilt your head and use the dropper to place 2-3 drops into your ear canal. Maintain this position for 5-10 minutes to allow the solution to penetrate and soften the wax. You might hear slight crackling or feel a gentle sensation as the solution works to break down the buildup. After the recommended time, gently tilt your head back to an upright position and allow the solution to drain naturally.
Pro Tip: Always perform ear wax softening in a comfortable position and avoid inserting any objects deeper than the outer ear to prevent potential injury.
Here is a summary comparing common home ear wax removal solutions:
| Solution Type | How It Works | Typical Effectiveness | Potential Side Effects |
|---|---|---|---|
| Mineral Oil | Softens hardened wax | Highly effective for soft wax | Rare mild irritation |
| Hydrogen Peroxide | Breaks down debris | Good for moderate blockages | Bubbling sensation, minor irritation |
| OTC Ear Drops | Chemically dissolves wax | Varies by formulation | Possible allergy, itching |
| Warm Water | Flushes out softened wax | Limited if wax is very hard | Temporary dizziness |
Step 3: Flush Ear Gently Using Safe Techniques
After softening the ear wax, the next crucial step is carefully flushing your ear canal to remove the loosened debris. This delicate process requires precision and gentleness to prevent potential damage to your sensitive ear structures.
Ear irrigation involves using a rubber bulb syringe to gently flush out softened ear wax. Begin by preparing warm water or a saline solution that matches your body temperature. Fill the rubber bulb syringe with the solution and position yourself over a sink or basin to catch the drainage. Gently pull your outer ear upward and slightly back to straighten the ear canal, which helps create a clear pathway for the water.
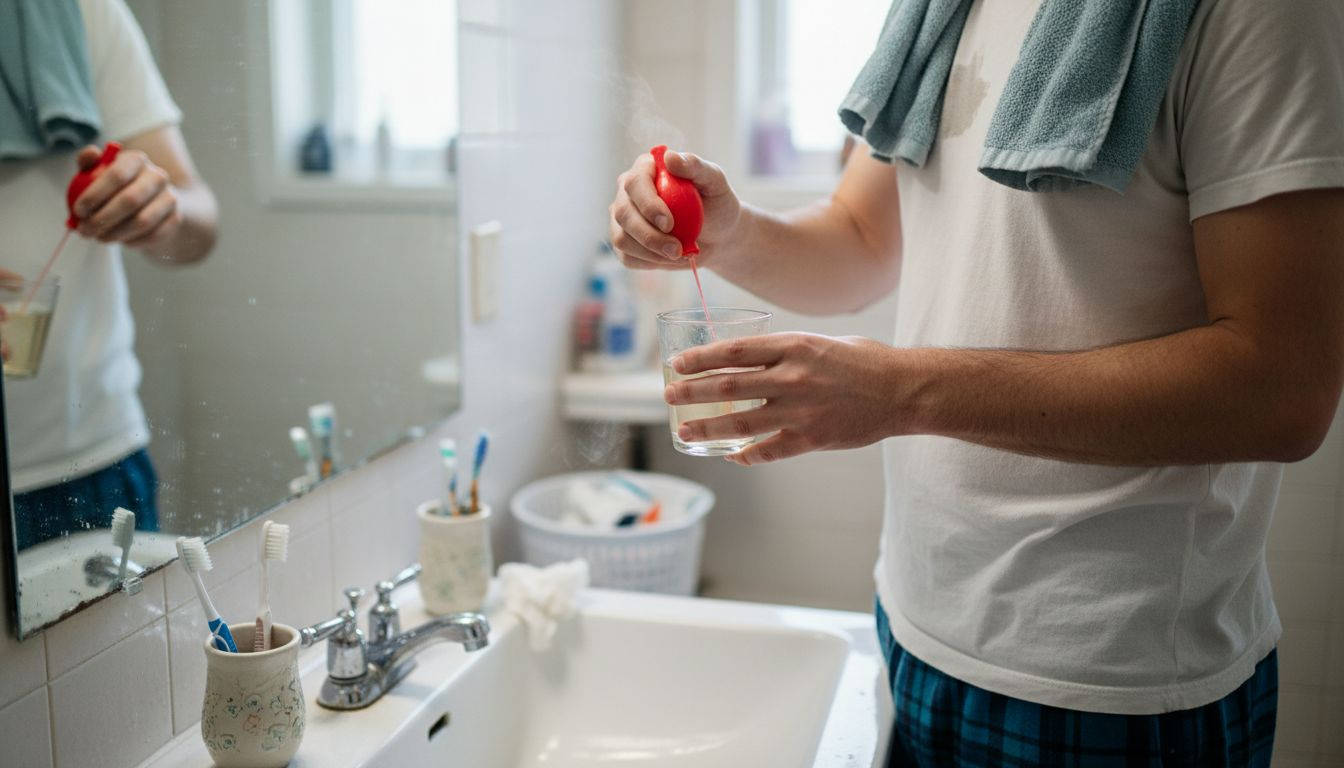
Apply minimal pressure when squirting the warm solution into your ear canal, allowing it to flow naturally and flush out the softened wax. Tilt your head to let the liquid drain completely. Repeat this process no more than 2-3 times, being careful not to force the water or create excessive pressure. After irrigation, gently dry the outer ear with a clean towel, ensuring no moisture remains trapped inside the canal.
Pro Tip: Always perform ear flushing in a warm, comfortable environment and stop immediately if you experience pain, dizziness, or unusual sensations.
Step 4: Evaluate Ear Health After Removal
After completing the ear wax removal process, carefully assessing your ear health is crucial to ensure no complications have occurred during the procedure. This final step helps you confirm that your ears are functioning normally and no additional medical intervention is needed.
Monitoring for potential symptoms is essential following ear wax removal. Pay close attention to your hearing quality, checking for any unexplained changes or reduction in sound clarity. Notice if you experience any unusual sensations such as persistent fullness, ringing, or a feeling of pressure inside the ear canal. Significant discomfort, sharp pain, or hearing loss could indicate potential issues that require professional medical evaluation.
If you notice any concerning symptoms like dizziness, continued hearing impairment, or signs of infection such as drainage or unexpected pain, contact your healthcare provider promptly. These symptoms might suggest an underlying condition that needs immediate professional assessment. Gently clean the outer ear with a soft towel, avoiding inserting any objects inside the ear canal, and allow your ears time to readjust after the wax removal process.
Pro Tip: Keep a record of any symptoms or changes you experience after ear wax removal, which can help your healthcare provider make a more accurate diagnosis if further medical attention is needed.
Step 5: Understand Risks of Ear Wax Candles with Scientific Citations
Ear wax candles have gained popularity as an alternative ear cleaning method, but scientific evidence strongly warns against their use. Understanding the potential risks associated with this practice is crucial for protecting your ear health and preventing serious complications.
Consumer safety organizations have extensively documented the dangers of ear candling. The procedure involves placing a hollow candle near the ear and burning it, supposedly to draw out ear wax through suction. However, medical experts and regulatory bodies like the FDA explicitly warn that this method is not only ineffective but potentially harmful. The risks include burns to the face and ear, ear canal obstruction, and potential puncturing of the eardrum.
Despite claims made by proponents, no scientific research supports the effectiveness of ear candling as a legitimate ear wax removal technique. The process can actually push ear wax deeper into the canal, increasing the risk of impaction and hearing problems. Moreover, the heat and debris from the candle can cause serious injury, including permanent hearing damage and skin burns. Individuals seeking safe ear wax removal should always consult healthcare professionals or use medically recommended methods.
Below is a comparison showing the risks of ear candling versus medically recommended methods:
| Removal Method | Safety Level | Supported by Experts | Main Risks |
|---|---|---|---|
| Ear Candling | Very low | No | Burns, blockage, hearing damage |
| Flushing with Syringe | High (if gentle) | Yes | Temporary dizziness, rare injury |
| Wax Softening Drops | High | Yes | Mild irritation or allergy |

Pro Tip: Always prioritize professional medical advice over unproven home remedies when dealing with ear health and wax removal.
Discover Safe and Natural Solutions for Ear Care Today
Struggling with effective and gentle ear wax removal can be frustrating and sometimes risky. This detailed guide highlights key steps like softening ear wax with natural oils and flushing your ears cautiously using recommended techniques. If you want to avoid harmful methods like ear candling and ensure your ear care routine supports your wellbeing, you need trusted natural remedies and expert advice.

Explore a variety of holistic wellness products and informative home remedy guides at Homeremedyshop.com. Empower yourself with safe, natural options designed to care for your ears and overall health. Act now to protect your hearing while embracing alternative health solutions backed by tradition and science. Visit https://homeremedyshop.com to start your journey towards healthier ear care today.
Frequently Asked Questions
What are the best home remedies for safe ear wax removal?
The best home remedies for safe ear wax removal include using mineral oil or hydrogen peroxide to soften the wax, followed by gentle flushing with warm water using a rubber bulb syringe. Prepare your workspace with clean supplies, and apply 2-3 drops of your chosen solution to your ear, maintaining the position for 5-10 minutes before flushing.
How do I soften ear wax effectively at home?
To soften ear wax effectively at home, use warm mineral oil or hydrogen peroxide, applying 2-3 drops into the ear canal. After allowing it to sit for 5-10 minutes, you can proceed to flush the ear gently with warm water or saline.
What should I do if I experience pain during ear wax removal?
If you experience pain during ear wax removal, stop the process immediately. Assess your ear health; if discomfort persists or if you notice unusual symptoms, contact a healthcare provider without delay.
How often should I perform ear wax removal at home?
You should perform ear wax removal at home only as needed, typically after you notice signs of buildup or blockage. Monitor your ear health regularly and aim for a cleaning frequency of no more than once every few months to avoid irritation.
Are there any dangers of using ear wax candles at home?
Yes, using ear wax candles at home poses significant dangers, such as burns to the ear and potential damage to the eardrum. It’s best to avoid this method and stick to safe alternatives like softening solutions and gentle flushing techniques.
How can I tell if my ear wax removal was successful?
You can tell if your ear wax removal was successful by checking for improved hearing and the absence of symptoms like fullness, ringing, or pain in the ear. Monitor your ear health for any unusual sensations after the process.
Recommended
- 6 Home Remedies for Safe Ear Wax Removal – Home Remedies
- How To Clean Your Ears – Without Doing Any Damage – Home Remedies
- How to Unclog Ears at Home? 15 Ways for Plugged Ears
- How to Get Rid of a Clogged Ear at Home – Home Remedies
